October 09, 2026


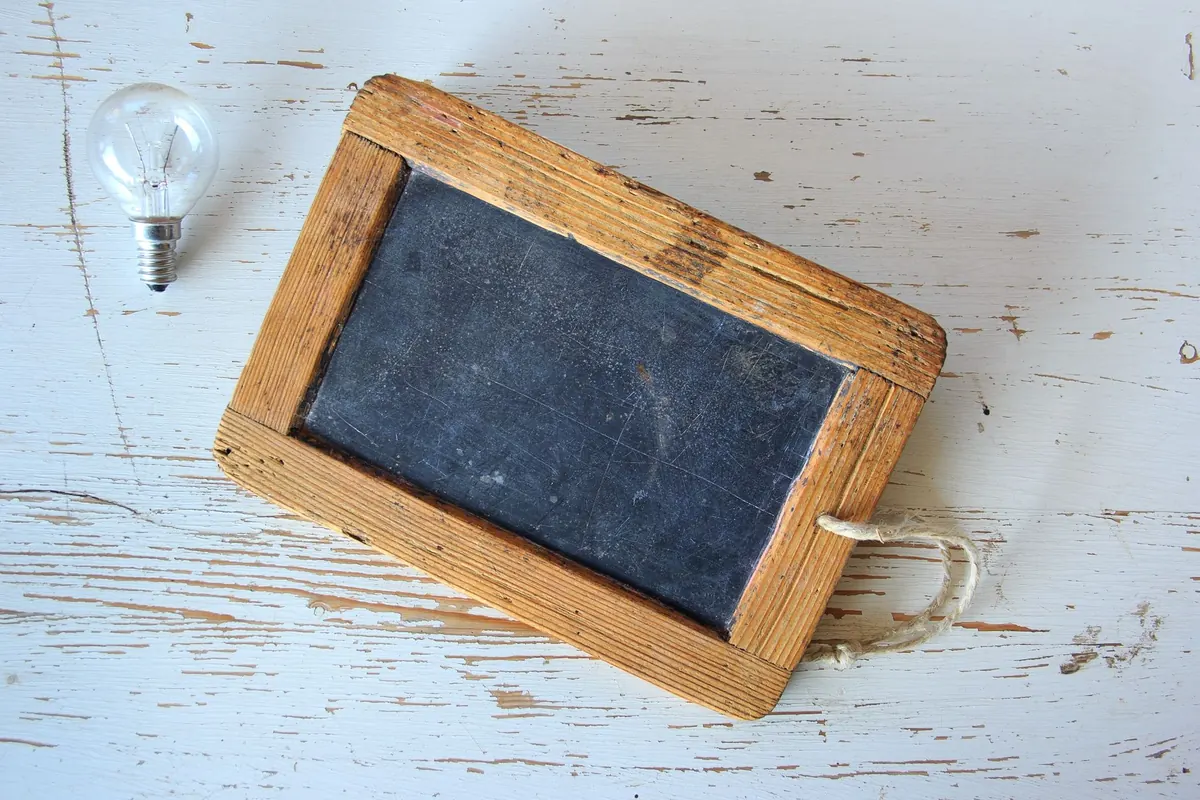

A window seat looks generous in photographs and slightly bleak in real life: a hard painted ledge where you meant to curl up with a book. The fix is a cushion cut to fit, and you can make one without owning a sewing machine. Fabric, foam and a reel of iron-on hemming tape will get you there in an afternoon.
This is the method to start with if you have never made anything before. The only genuinely difficult part is the measuring, and that costs nothing to get right.
To work out how much fabric you need, imagine wrapping the foam like a parcel. You want a piece twice the depth of the seat, plus the thickness of the foam, plus about 10cm for turning under, by the width of the seat plus 4cm. If the fabric has a large pattern repeat, add extra so you can centre the design.
Window seats are rarely square, and old houses are worse. Take three width measurements — front edge, middle and back — and three measurements from front to back: left, centre and right. Write them all down rather than trying to remember them.
If the cushion sits inside a recess with walls on three sides, use the smallest figure from each set and take off another 5mm. A cushion that has to be forced into place will buckle at the corners and pop out whenever someone stands up. If the cushion sits on a flat sill or an open bench, use the largest measurement and let it overhang slightly.
Then decide on thickness. Deeper is not automatically better: 10cm of foam is hard to wrap neatly and can look bulky under a low window, swallowing the light you bought the window seat for.
Mark your measurements on the foam in pen and check them twice. Lay the foam on a firm surface with the overhang supported, then cut with long, steady sawing strokes, keeping the blade almost vertical. A craft knife tends to wander and leaves a ragged edge; a serrated bread knife, used patiently, gives a cleaner line. If the seat is an awkward shape — a bay window with angled ends, say — many foam suppliers will cut to your measurements for you, which is money well spent.
For a softer look, wrap the foam in a single layer of polyester wadding and hold it in place with a light spray of fabric adhesive or a few pins pushed in flat. The wadding rounds off the sharp edges so they do not show through the cover.
Fusible webbing likes cotton, linen and poly-cotton blends. It struggles with coated outdoor fabric, heavy upholstery velvet and some slippery synthetics. Test a scrap first: fuse two offcuts, let them cool, then try to pull them apart. If the bond fails, change the fabric rather than the technique. A hot, dry iron works best; steam can make the tape bubble and lift.
Fabric adds bulk at every fold, which is why the cushion needs roughly 5mm of breathing room on each side. If it is baggy, a layer of wadding around the foam will take up the slack without any unpicking.
Trim the fused seam allowance back to about 1cm and press it open before turning the cover through. Bulk left inside a corner has nowhere to go.
A cushion on a smooth painted sill will slide every time someone sits down. A rectangle of non-slip rug pad underneath solves it, or a few squares of hook-and-loop tape stuck to the cushion and the seat base. Vacuum the cover with an upholstery attachment rather than brushing it, and deal with spills straight away using a barely damp cloth and a little mild soap, working from the outside of the mark inwards so you do not spread the ring.
Rotate the cushion now and then if the seat is only ever used from one side, and keep it out of strong direct sun where you can, as fading shows first on the top edge. Foam is the part that eventually gives up; when it flattens, replace it and the cover will still fit.
Photo: Darya Sannikova / Pexels
Small ideas for cozy corners and compact homes.
Copyright © 2026 Nook Bit. All rights reserved. Nook Bit.