October 09, 2026


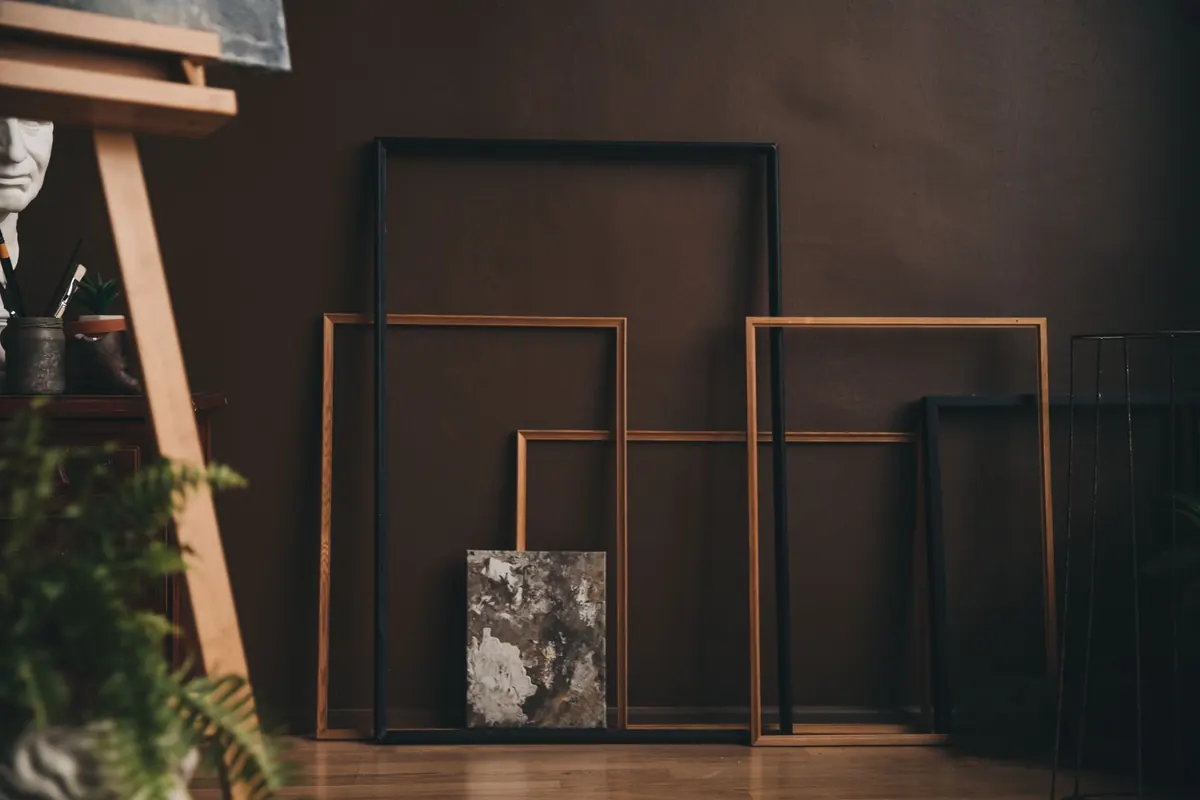
Renting does not mean living with bare walls. It means being deliberate about how you put things on them. A gallery wall that lifts off cleanly at the end of a tenancy is entirely doable: light frames, the right removable fixings, and a plan made before anything touches the plaster. Here is the checklist worth working through in order, from the first pencil mark to the final dab of filler.
Frames laid out on the floor behave differently once they are vertical, so the floor is a poor rehearsal space. Cut paper templates instead — old newspaper or lining paper works — and tape them up with low-tack masking tape. Live with the arrangement for a day. Moving a sheet of paper is far easier than moving a hook.
A few measurements keep things looking intentional. As a general guide, the centre of the whole arrangement sits around 145cm from the floor, roughly eye level for an average adult. Above a sofa, leave 15–25cm between the bottom of the frames and the top of the sofa back. Keep gaps consistent: 5–7cm suits most walls, and tighter spacing works better with small prints.
Mark the corners of each template with a small pencil dot on the tape rather than on the paint. Peel the tape away and you have nothing to explain.
Adhesive fixings fail for one reason more than any other: too much weight. Work comfortably within the limit rather than testing it.
If you own a heavy frame you love, consider having the glass replaced and keep it for a future home with solid walls or a picture rail.
Most tenancy agreements contain a clause about fixings, and the wording varies. Check yours, along with the inventory, before you start, and ask your landlord or agent in writing if anything is unclear. Deposit rules differ across the UK, and the agreement is what everyone will refer back to. Broadly speaking, small picture hooks and removable adhesive strips are more likely to be accepted than screws and wall plugs, but confirm rather than assume.
Then look at the surface. Adhesive strips want smooth, clean, sound, painted walls. They struggle on wallpaper and paper-backed lining, on fresh emulsion that has not fully cured, on textured plaster, and in damp rooms such as bathrooms. Plasterboard holds a pin hook well; old lath-and-plaster can crumble around one.
Clean the wall with an isopropyl wipe and let it dry completely. Press each strip firmly for the recommended time, using one at each top corner and one at the bottom centre for larger frames. Then wait. Most manufacturers suggest letting the adhesive set for around an hour before hanging anything. Cold walls reduce grip, so avoid hanging on a freezing day with the heating off.
Warm the adhesive with a hairdryer on a low setting, then pull the tab straight down, parallel to the wall. Pulling outwards is what takes paint with it. Any residue lifts with an isopropyl wipe or a little washing-up liquid on a soft cloth.
Small nail holes are straightforward. Press fine-surface filler in with your finger or an old card, overfill very slightly, let it dry, then sand flush with 240-grit paper and touch up with a match pot of paint. Ask your landlord or agent for the colour name; many keep a note, and matching it is the difference between invisible and obvious. A dab of toothpaste will do in an emergency on a white matt wall, but it yellows and cracks, so treat it as a stopgap.
Removal is where a rental gallery wall earns its keep, so plan it at the same time as the hanging.
Keep a small repair kit in a drawer: fine filler, 240-grit paper, a match pot, isopropyl wipes and a clean cloth. Photograph your walls when you move in and again when you leave, so you have a record if anything is queried. If adhesive has marked the paint, a light local touch-up usually beats repainting the whole wall. Do not repaint a wall you were not asked to repaint, as a fresh patch against aged paint tends to stand out more than the mark did.
If you are unsure about your obligations or your deposit, check your tenancy agreement and speak to your deposit protection scheme or a tenancy advice service for guidance on your specific situation. Then hang the pictures, enjoy them, and take them with you when you go.
Photo: Lisett Kruusimäe / Pexels
Small ideas for cozy corners and compact homes.
Copyright © 2026 Nook Bit. All rights reserved. Nook Bit.